Home

Windows Controls: The Picture Control


Introduction to the Picture Control


Overview


A static control is an object that displays information to the user without his direct intervention. A static control can be used to display text, a geometric shape, or a picture such as an icon, a bitmap, or an animation. Normally, a user cannot change the value of a static control. For example, if a static control displays text, the user cannot directly change it.

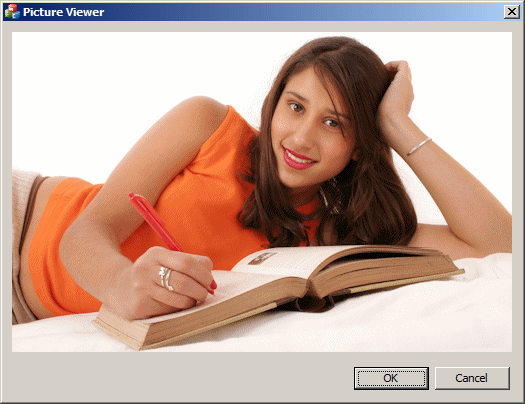
In the same way, if a static control is used to show a picture, the user cannot inherently change the picture.

One of the most common static controls used in MFC is the picture control.

Creating a Picture Control

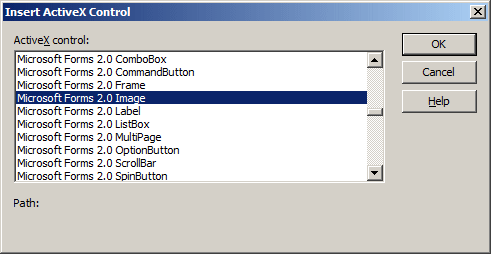
To create a picture control, in the Toolbox, click the Picture button Picture and click the dialog box. To programmatically create a static control, declare a pointer to CStatic using the new operator. Then call its Create() member function to initialize it.

Practical LearningPractical Learning: Introducing the Picture Control

  1.  Start Microsoft Visual Studio

  2. To create a new application, in the main menu, click File -> New Project...

  3. In the left list, click Visual C++. In the right list, click MFC Application

  4. Change the Name to PictureViewer1

  5. Click OK

  6. Enlarge the dialog box and keep its buttons to the lower-right section

Characteristics of a Picture Control

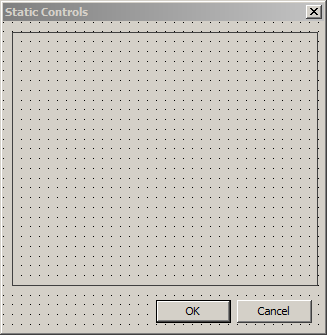
To create a static control, the MFC library provides the CStatic class. Like any other control, there are various ways you can create this control. During design, you can add a Picture control to a form or a dialog box:

Picture Control

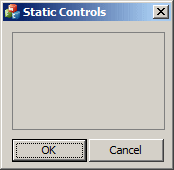
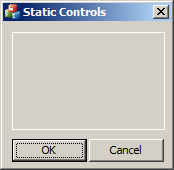
The Picture control is the most classic static control of the MFC library. To exploit a static control, you can manipulate some of its characteristics. These characteristics are referred to as its styles.

You can surround the borders of the control with a black, a gray or a white color. During design, specify the Type as Frame and set the color accordingly using the Color combo box:

Picture Control Picture Control Picture Control
Black Gray White

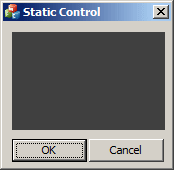
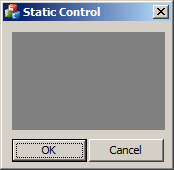
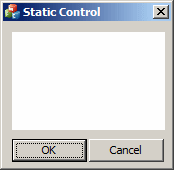
These characteristics are set as SS_BLACKFRAME, SS_GRAYFRAME, and SS_WHITEFRAME respectively.

You can fill the control with either a black, a gray, or a white color. At design time, set the Type combo box to Rectangle and select one of these colors in the Color combo box:

Picture Control Picture Control Picture Control
Black Gray White

These characteristics are based on the SS_BLACKRECT, SS_GRAYRECT, and SS_WHITERECT values respectively.


The Picture Control

As mentioned already, there are different types of static controls. One of them is the Picture control and it can be used to display a picture. To start, in the Resource View, right-click the .rc node and click Add Resource... In the Add Resource dialog box, click Bitmap and click Import... Locate and select the picture you want to use (the picture should have a .bmp extension). Click Open. If the Custom Resource Type appears, type Bitmap and click OK. Add a Picture control to the dialog box. In the Type combo box of the Properties window, select Bitmap. After doing this, the Image field becomes a combo box. In it, select the identifier of the picture you had imported.

This characteristic is specified through the SS_ICON or SS_BITMAP.

If you want to manipulate the properties of a static control, you should change its identifier from IDC_STATIC to a more meaningful name.

Practical LearningPractical Learning: Using a Static Control

  1. In the Resource View, right-click PictureViewer.rc and click Add Resource...
  2. In the Add Resource dialog box, click Bitmap
     
    Add Resource
  3. Click Import
  4. From the resources that accompany these lessons, select student.bmp
  5. Click Open
  6. If the picture displays, close it.
    In the Resource View, expand the Bitmap node and click the IDB object
  7. In the Properties window, click ID, type IDB_STUDENT and press Enter
  8. In the Toolbox, click the Picture Control button Picture and click the dialog box
  9. In the Properties window, click Type. Then click the arrow of its combo box and select Bitmap
  10. Click Image. Then click the arrow of its combo box and select IDB_STUDENT
  11. Execute the application to see the result:

    Picture Control

  12. Close the dialog box and return to your programming environment

The Microsoft Image Control

If you need to display a picture for your application, Microsoft Windows provides a special control for that purpose. To do this, you can use Microsoft Forms Image available from the Insert ActiveX Control. After adding it to your application, use its Picture property to specify the picture you want to display.

Practical LearningPractical Learning: Displaying a Picture

  1. Create a new Dialog-based application named PictureViewer2
  2. Set the Dialog Title to Picture Viewer
  3. Delete the TODO line
  4. Right-click anywhere on the dialog box and click Insert ActiveX Control
  5. In the Insert ActiveX Control dialog box, scroll down and click Microsoft Forms 2.0 Image:
     
    Insert ActiveX Control
  6. Click OK
  7. In the Properties window, click the Picture field. Then click the ellipsis button
  8. Locate the folder that contains the resources for these lessons and select flower.gif
  9. Click Open
  10. Resize the dialog box and adjust the location of the picture
  11. Execute the application to see the result:

    Picture Control

  12. Close the dialog and return to your programming environment


Home Copyright © 2010-2016, FunctionX