Modeling a Simple Door
Introduction
 Practical Learning: Modeling a Simple Door
- Start Blender
- Click the default cube to select it (it should be selected already)
- In the Properties window, click the Object button
 (it should be selected already) to access the primary properties of the cube
- Change the following values:
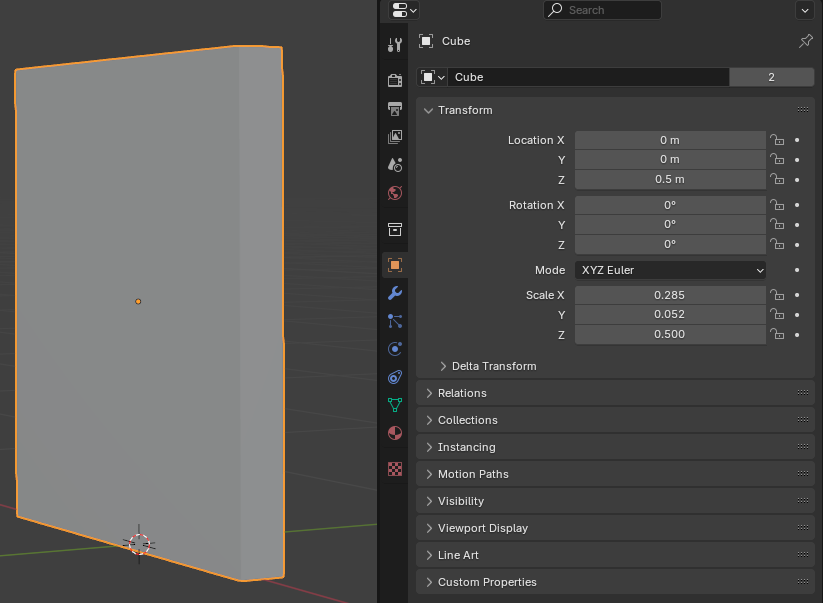
Name:     Door-Frame-Simple
Location: X: 0
          Y: 0
          Z: 0.5
Scale:    X: 0.285
          Y: 0.052
          Z: 0.5
- To edit the cube, on the top-main menu of Blender, click Modeling
- On the left bar, click the Loop Cut button

- Click the top or the bottom border to create a vertical cut
- In the bottom-left side of the large Blender window, click Loop Cut And Slide to expand it
- Change the Number of Cuts value to 2:
Number of Cuts: 2

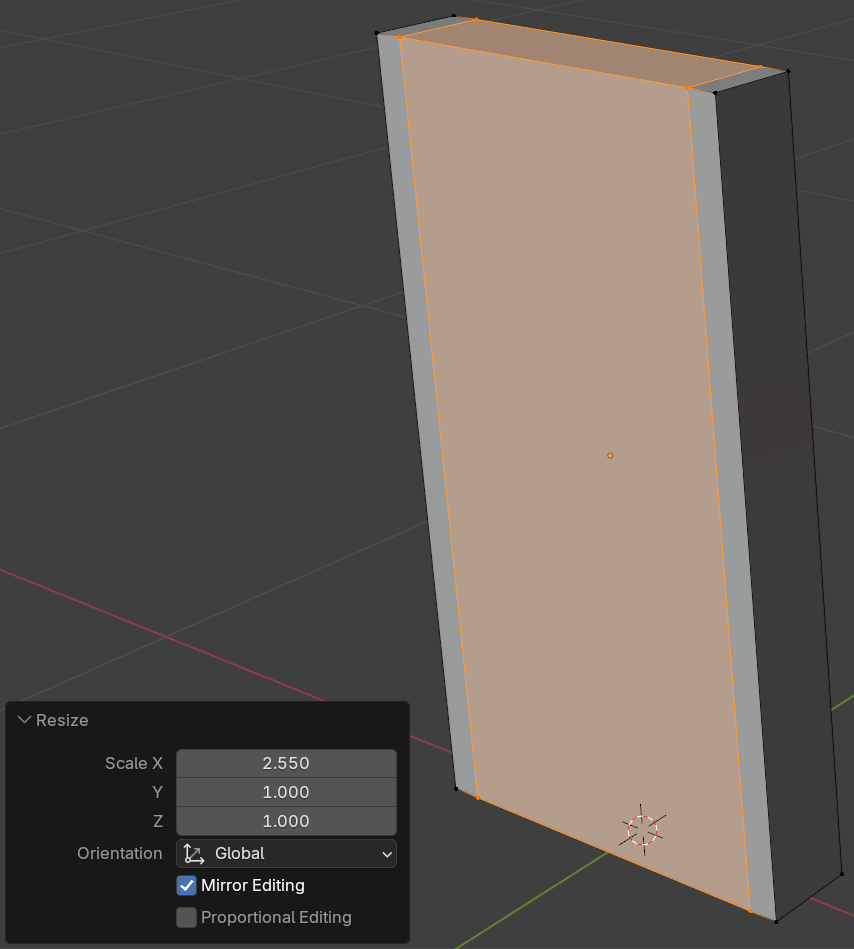
- Position the mouse in the 3D Viewport window. Then, on your keyboard, press S
- Move the mouse very slightly and click
- In the Resize window in the bottom-left section of the 3D Viewport window, change the following values:
Scale: X: 2.55
      Y: 1
      Z: 1
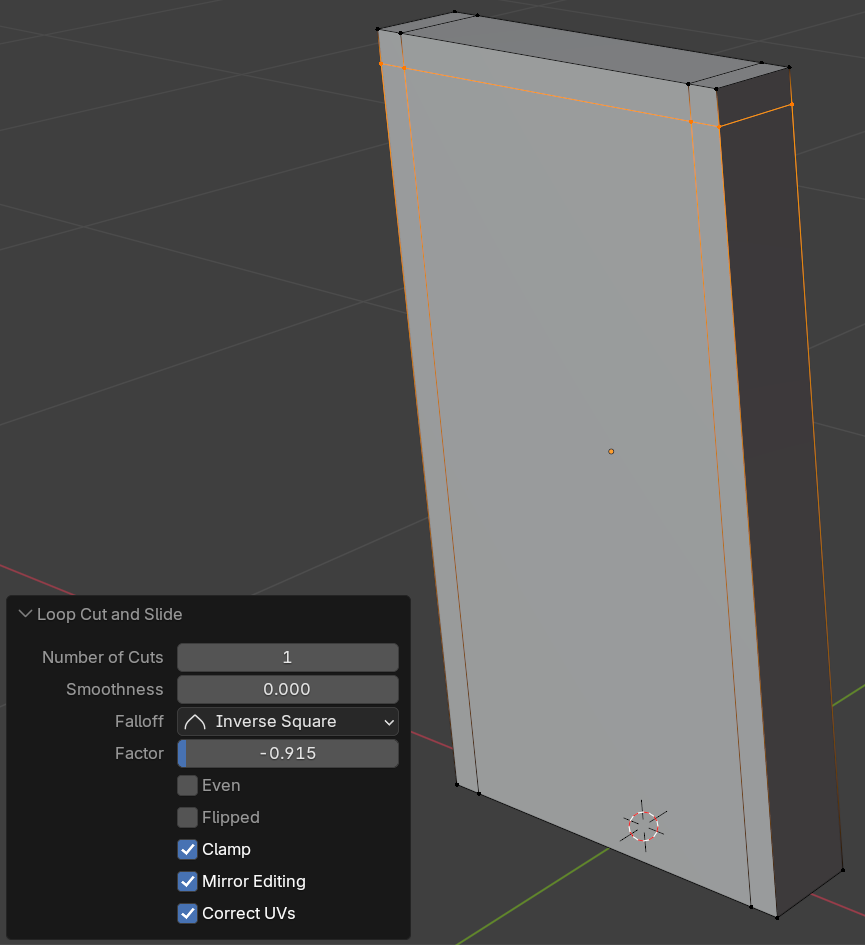
- While the Loop Cut button is still selected, click either the left or the right border of the shape to create a horizontal cut
- In the Loop Cut and Move window, change the factor to -0.915:
Factor: -0.915
- On the left toolbar, click the Move button

- On the top bar, click the Face button

- Click the large face in the middle of the shape to select it
- On your keyboard, press X
- On the menu that appears, click Faces
- Click the bottom-central face of the shape to select it
- On your keyboard, press Delete
- On the menu that appears, click Faces
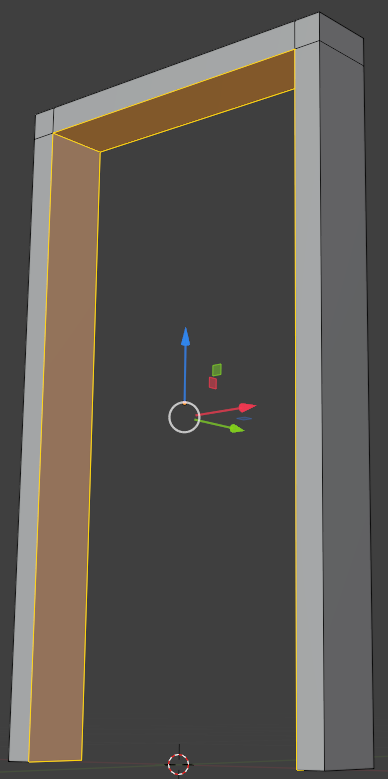
- Click the other large face in the middle of the shape to select it
- Right-click anywhere in the 3D Viewport workspace window -> Separate -> Selection

- To confirm the separated parts, on the top-main menu of Blender, click Layout
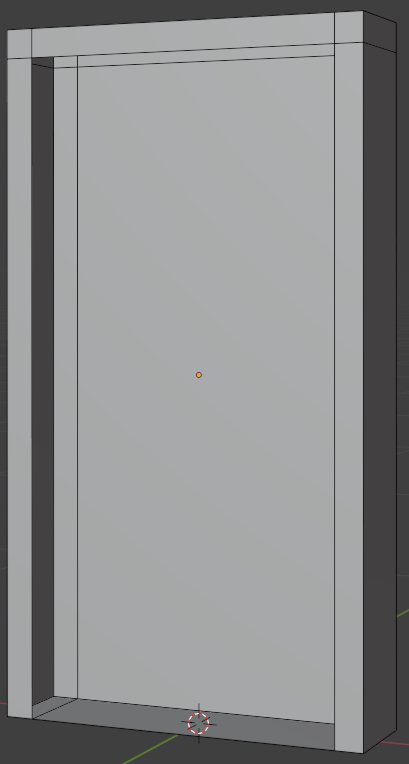
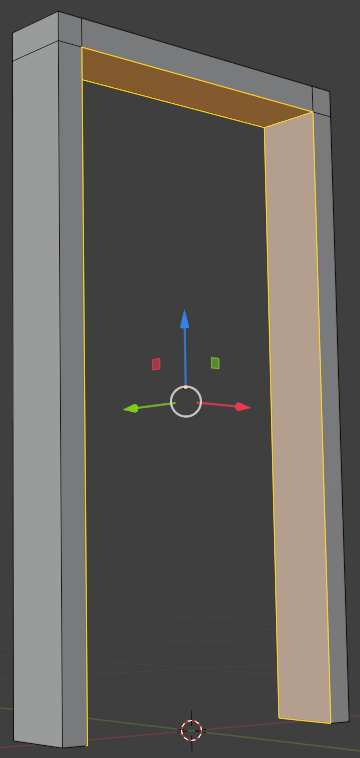
- Click the wide face in the middle of the shape to select it
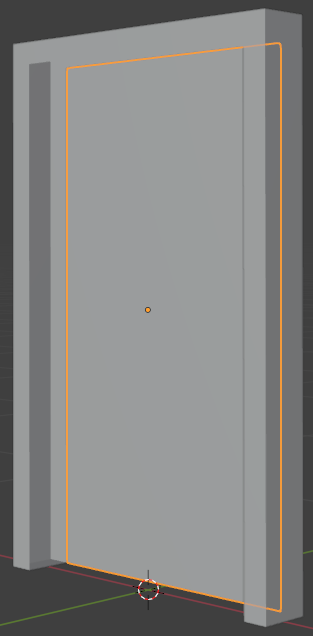
- On your keyboard, press H to hide the face
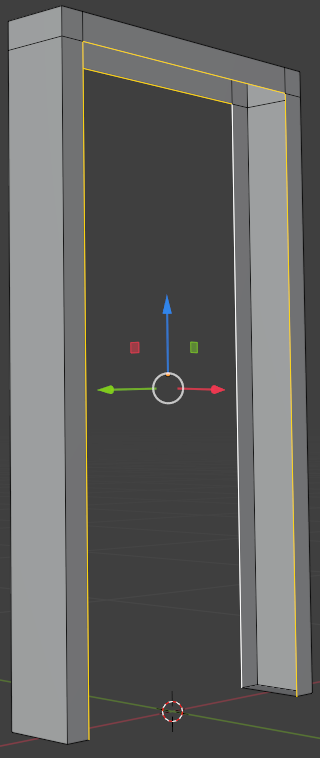
- Click any border of the window to select it

- To continue editing the door, on the main menu of Blender, click Modeling
- On the top bar, click the Edge button

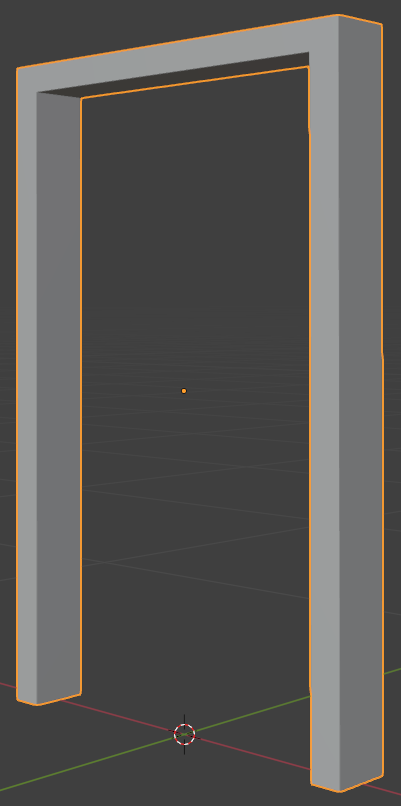
- On the window, click one of the interior edges of the opening to select it
- On your keyboard, press and hold Shift
- Click each of the interior edges of both openings of the door but don't select the bottom edge of each side
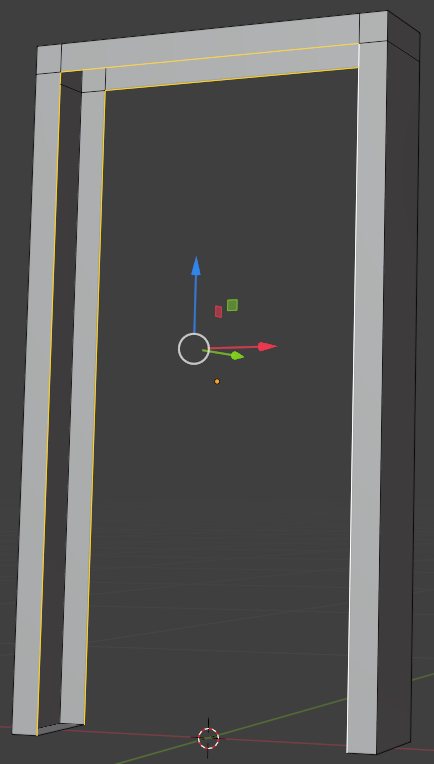
- On the menu bar, click Edge -> Bridge Edge Loops
- On the top-main menu of Blender, click Layout
Finalizing the Interior Door
Practical Learning: Finalizing the Interior Door
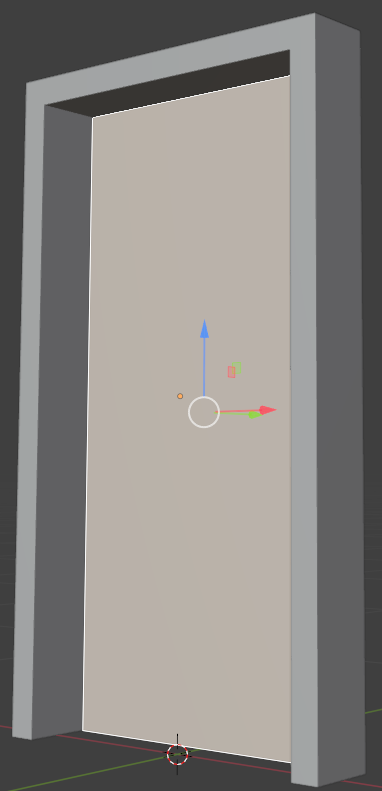
- Position the mouse in the 3D Viewport. Press Alt + H to display the face that was hidden
- Click the interior face to select it
- In the Object section of the Properties window, click the name to select it
- Type Door-Leaf-Simple and press Enter
- To edit the face, on the main menu of Blender, click Modeling
- On the top menu bar, click the Face button
- Click the large face on the door
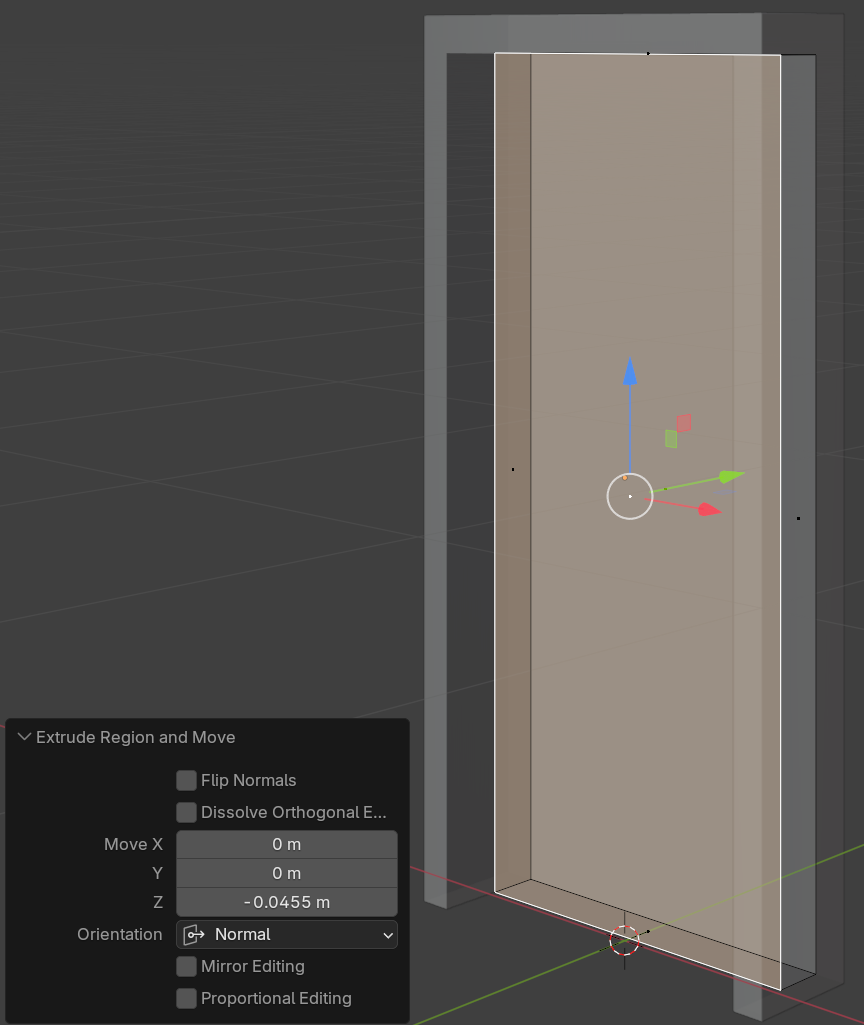
- Press E to extrude and press Enter
- In the Extrude Region and Move window, change the Z value to -0.755:
Move Z: -0.0555

- On the main menu of Blender, click Layout


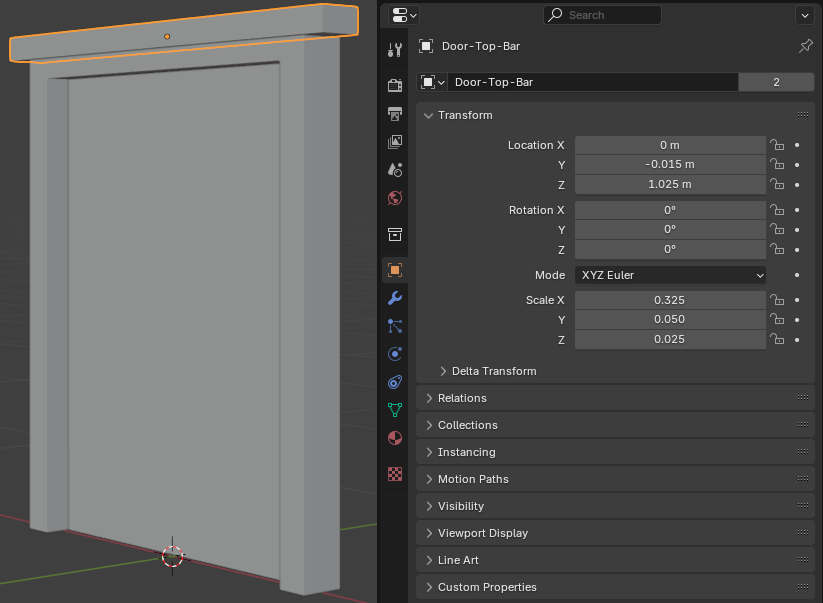
- To add a new object, on the top menu, click Add -> Mesh -> Cube
- In the Object section of the Properties window, change the following values:
Name:         Door-Top-Bar
Location: X:  0
          Y: -0.015
          Z:  1.025
Scale:    X:  0.325
          Y:  0.05
          Z:  0.025
- To save the DOOR, on the main menu, click File -> Save
- In the top text box of the Blender File View dialog box, set the folder you Want
- Set the file name to Door-Simple
- Close Blender