|
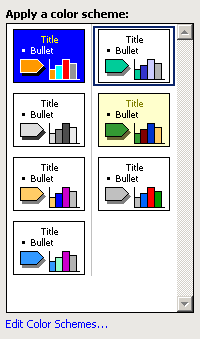
A scheme is a series of pre-configured designs you can
apply to a collection of objects in one step. Microsoft PowerPoint
provides the Color Scheme. It presents a list of colors you can apply to
all slides in one step. Seven lists have been created and you can choose
any one of them. Alternatively, you can create you own list of colors and
apply them to one or all slides.
To use the Color Scheme, on the main menu, you can
click Format -> Slide Design... This would display the Slide Design
window from where you can click Color Scheme... In the Apply a Color
Scheme section of the window, you can click one of the items.
If none of them suits you, you can click the Edit Color Schemes link. Click
each item in the Scheme Colors section and click Change Color to change
the color. Once you are ready with a scheme, to apply it to only the
currently selected slide, click Apply. To apply the change to all slides,
click Apply To All.
|
 Practical Learning: Using a Color Scheme
|
|
- Open the Microsoft Windows Fundamentals1
presentation
- On the main menu, click Format -> Slide Design...
- In the Slide Design window, click Color Scheme...
- Under Apply A Color Scheme, click the design in the 1st column - 1st
row
- In the Slide Design window,
click Edit Color Schemes...
- In the Edit Color Scheme dialog box, click the Custom property page
if necessary.
Double-click the button on the left side of Text and line
- Click a dark blue color
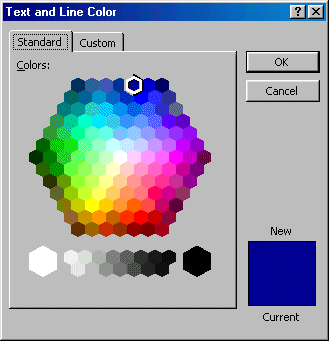
- Click OK
- Click the Title Text button and click Change Color...
- Click a dark red color
- Click OK and click Apply
- Save the presentation
The background is the area that covers the whole
slide. It is referred to as background because it stays in the back and it
is positioned behind anything else in the slide. If you assign or change a presentation's design, a nicely formatted
background is applied to the slides. You can change and design a slide's
background anytime or change the presentation's design manually if none of
the designs suits your particular needs.
To design a particular slides background, you should
be in the Slides tab of the Normal view. Microsoft PowerPoint
ships formatted lists of preset colors. You can use one of these or design
your own from scratch.
|
Practical Learning: Painting the Slides Background
|
|
-
If necessary, in the lower-left corner, click the Normal View button
 and click the Slides tab.
On the main menu, click Format -> Background...
-
From the Background dialog box, click the combo
box and click Fill Effects...
-
In the Colors section, click the One Color
radio button
-
Click the Color 1 combo box and select More
Colors...
-
From the Colors dialog box, in the Standard
property page, click a dark blue color
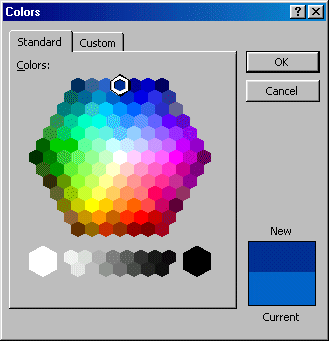
-
Click OK
-
Under the Color 1 combo box, drag the thumb of the
scroll bar to the right but without touching the arrow
-
In the Shading Styles, click Horizontal
In the Variants section, click the button in the 2nd column - 2nd row
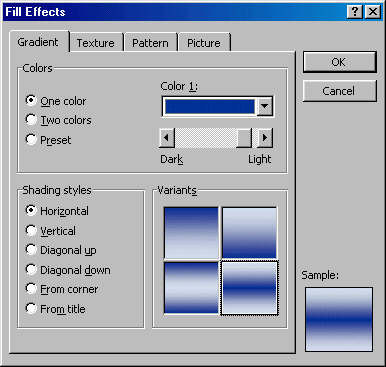
-
Click OK
-
In the Background dialog box, click Apply To All
The Format Painter is one of the most thoughtful
features of Microsoft Office. It allows you to copy a formatting of one
object and apply that formatting to another object of the same category.
For example, if allows you to copy the font characteristics applied on a
portion of text to another portion of text of the same document.
To use Format Painter, first select the text or the
object that holds your desired format, then click the Format Painter
button on the Standard toolbar, and select the text or click the object on
which you want to apply the formatting.
|
Practical Learning: Using the Format Painter
|
|
- Display the second slide. In the slide, triple-click The Central
Processing Unit
- On the Formatting toolbar, click the Italic button
 to remove the italicized effect
- While the text is still selected, on the Standard toolbar, click the
Format Painter button

- In the slide, select the The Monitor line. Notice that the same
formatting has been applied
- On the main menu, click View -> Normal
- Triple-click The Keyboard to select the whole
line
- On the main menu, click Format -> Bullets and Numbering...
- In the Bullets and Numbering dialog box, in the Bulleted property
page, click Customize...
- In the Font combo box, select Wingdings 2
- In the list of characters, click the box at 7th column - 6th row
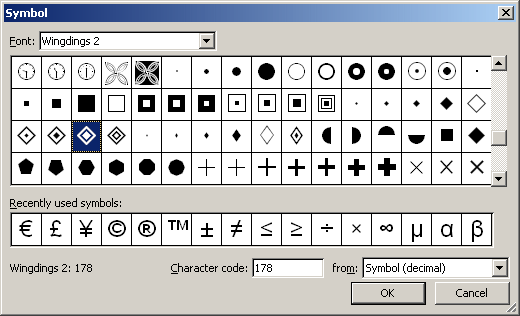
- Click OK
- Click the Color combo box and select More Colors
- Click Custom. Set the Color to Red=255, Green=155, Blue=100, and
click OK
- Set the Size spin button to 95
- Click OK
- While The Keyboard text is still selected, on the main menu, click
Format -> Font...
- Set the Font to Font = Verdana, Style = Bold, Size = 32, Color =>
More Colors => Custom => Red= 255, Green = 255, Blue = 155 =>
OK
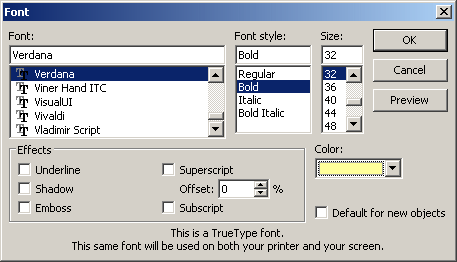
- Click OK
- While The Keyboard text is still selected, on the Standard toolbar,
double-click the Format Paint button
- In the slide, select the The Monitor line followed by the The
Mouse line
- On the Standard toolbar, click the Format Painter button to dismiss
it
- Save the presentation
|
|
