|
There are two main ways you can use a cursor in your
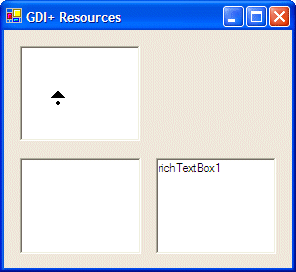
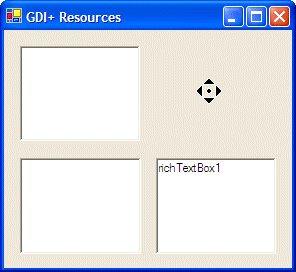
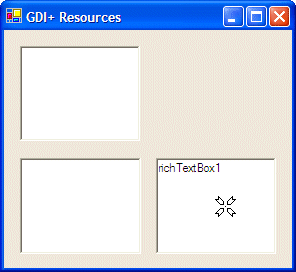
application. The easiest cursors are listed in the Cursor field of the
Properties window for the control whose cursor you want to change. The available
cursors are:
You can select one of these cursors in the Properties window
and
assign it to a control. These cursors are defined in a class called Cursors.
This simple class mostly contains only a list of available cursors as
properties. All these cursors are represented as static properties.
Therefore, to use one of these cursors, call the name of the class, Cursors,
followed by the class access operator "::", followed by the name of the cursor as it appears in the
above list.
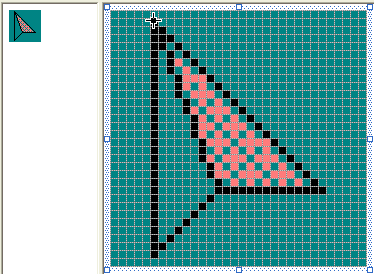
Another technique consists of using a cursor not listed in the
Properties window. A cursor is based on the Cursor class. It provides
four constructors. One of them allows you to specify the path where the cursor
is located. This constructor has the following syntax:
public: cursor(String* filename);
The argument passed to this constructor is name or the location of
the cursor as a file. After calling this constructor to initialize a Cursor
variable, the cursor is ready. You can then use it as you see fit. For example,
you can assign it to the Cursor property of a control.
When the cursor of a control has been changed, the control
fires a CursorChanged event. This event is of type EventArgs.
If at any time you want to hide a cursor, you can call the Cursor::Hide()
method. Its syntax is:
public: static void Hide();
To display the cursor again, you can call the Cursor::Show()
method. Its syntax is:
public: static void Show();
|


