 |
Introduction to Web Forms and Web Controls |
|
Fundamentals of Web Forms
Introduction
To make it possible to create an interactive web page that allows visitors
to provide values that a webserver can process, APS.NET, from the .NET
Framework, provides various types of classes. To start, you must create a
form and add it to a webpage.
To support forms, the .NET Framework provides a class
named HtmlForm . It is indeed the .NET's implementation of the HTML's form element
that is used to create a form.
Creating a Web Form
As it is done in HTML, to get a form on a
webpage, create a <form> element. Here is an example that starts a form:
<%@ Page Language="VB" %>

<!DOCTYPE html>

<html>
<head runat="server">
<title></title>
</head>
<body>

<form></form>

</body>
</html>
HTML Elements in a Webform
The form element is a container in which you
can put any type of HTML element. Here is an example that contains a p
and a div elements:
<%@ Page Language="VB" %>

<!DOCTYPE html>

<html>
<head>
<title>Geometry: Square</title>
<style type="text/css">

#formulation
{
    margin: auto;
    width:  200pt;
}
#main-title
{
    font-size:   18pt;
    font-weight: bold;
    font-family: Georgia, "Times New Roman", Times, serif;
}
</style>

</head>
<body>

<form>
  <div id="formulation">
    <p id="main-title">Geometry: Square</p>
  </div>
</form>

</body>
</html>
You can also include scripting code, from code
delimiters, in a form
element. Here is an example:
<%@ Page Language="VB" %>

<!DOCTYPE html>

<html>
<head>
<title>Geometry: Square</title>
<style type="text/css">

#formulation
{
    margin: auto;
    width:  200pt;
}
#main-title
{
    font-size:   18pt;
    font-weight: bold;
    font-family: Georgia, "Times New Roman", Times, serif;
}
</style>

</head>
<body>

<form>
  <div id="formulation">
    <p id="main-title">Geometry: Square</p>

    <% Response.Write("<p>A square is a flat geometric figure made of four equal sides and four right angles.</p>") %>
  </div>
</form>

</body>
</html>
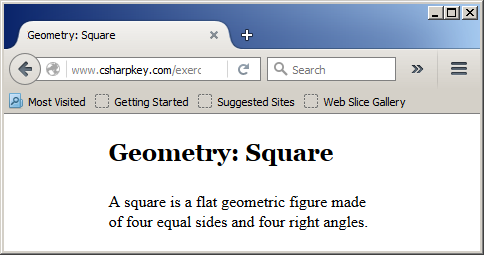
This would produce:

The Method Used to Send Data
Introduction
When the user clicks a button used to collect
information from a webpage, it is assumed that the information on the form
is sent to the server. HTML allows you to specify how this information would
be sent. To support this, the <form> tag is equipped with an
attribute named method. This attribute can be assigned one of two
values: get or post.
Getting the Data
In the <form> tag, you can add the method
attribute and assign the get (or GET, this is not
case-sensitive) value to it. Here is an example:
<%@ Page Language="VB" %>

<!DOCTYPE html>

<html>
<head runat="server">
<title>Geometry: Square</title>
</head>
<body>

<form method="get" runat="server">

</form>

</body>
</html>
If you do this, the information that is being sent would
display in the address bar, starting with a question mark. Here is an
example:

Notice that, in the address bar, after the address of
the web page, there is a question mark, followed by various words. If you
use GET as the method to send data, the information being carried
should not exceed 2048 characters (if we consider that each character uses a
byte).
Posting the Data
An alternative is to assign post (or POST)
to the method attribute. This would be done as follows:
<form method="post" runat="server">

</form>
In this case, the information is sent directly to the
server through a protocol (in this case, HTTP) and would not appear in the
address bar of the browser. If you use POST as the method to send
data, the information being carried can be as large as the user/visitor's
computer memory (RAM) can afford.
Taking Action
Once the information from a form reaches the server, it
must be processed. This is usually done by specifying the file that includes
the code used to process the information that was sent. A regular file in
this case would have the .aspx extension. This can be the same file
that contains the form or it can be a separate file.
To specify the file used to process information from a
form, the <form> tag is equipped with an attribute named action
to which you can assign the name of the file, as a string. This can be done
as follows:
<form method="post" action="index.aspx" runat="server">

</form>
As with all HTML attributes, the position of the
ACTION attribute is not important. That is, it can be positioned before
or after another attribute.
Web Controls Fundamentals
Introduction to Web Controls
To have a meaningful interactive webpage, its form
must be equipped with objects named web controls. To support those controls, the
.NET Framework provides various classes, each for a particular goal.
Creating a Web Control
As opposed to classic HTML Web controls,
ASP.NET Web controls use a special formula for their tags. A tag starts with
<asp: followed by the name of the class that represents the control.
For example, if a class for a control is named Something, its start
tag would be <asp:Something>. As it is normally done in HTML, the
element must be closed with an ending tag. For a control named Something, this would be</asp:Something>.
Therefore, the creation of a control could start as follows:
<asp:Something></asp:Something>
An alternative in closing a control tag is to end the
start tag with a forward slash and omit the end tag. This can be done as
follows:
<asp:Something />
Client and Server Processing
When creating an ASP.NET control for your web page,
you must specify where its value(s) would be processed. This is done by
adding the Runat (or runat) attribute to the start tag of
the web control. It can have one of two values: client or server, which would be assigned to the attribute.
Here is an example:
<asp:Something runat="server"></asp:Something>
This attribute and its value must be applied to every
ASP.NET Web control, including the form. The attribute should also be added
to various types of elements, including the head. Here are
examples:
<%@ Page Language="VB" %>

<!DOCTYPE html>

<html>
<head runat="server">
<title>Geometry: Square</title>
<style type="text/css">

#formulation
{
    margin: auto;
    width:  200pt;
}
#main-title
{
    font-size:   18pt;
    font-weight: bold;
    font-family: Georgia, "Times New Roman", Times, serif;
}
</style>

</head>
<body>

<form runat="server">
<div id="frmSquare">
    <p id="main-title">Geometry: Square</p>

    <% Response.Write("<p>A square is a flat geometric figure made of four equal sides and four right angles.</p>") %>

</div>
</form>

</body>
</html>
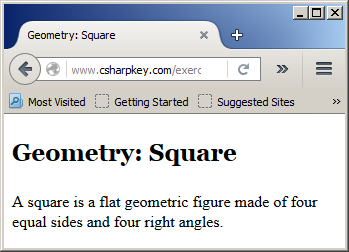
This would produce:

Identifying a Web Control
To be able to identify a control in your code, you should (must) give it an HTML identification. This is done by adding the id attribute to the start tag of the control and assigning it a name as a string.
|