To download MySQL, from its web site, locate and click the Downloads link. Then locate your platform. You will be taken to a page with many options. Unless you clearly know what installation you want, you should select Windows MSI Installer (AMD64 / Intel EM64T) and click Pick a Mirror. Choose a mirror (server) close to your location. When the dialog box comes up, click Run:
The downloading would start and may last a few minutes. Then a dialog box may notify you about security:
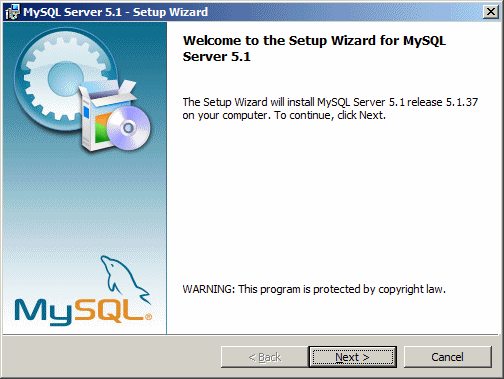
If so, click Run. The installation will start:
After reading the message, click Next:
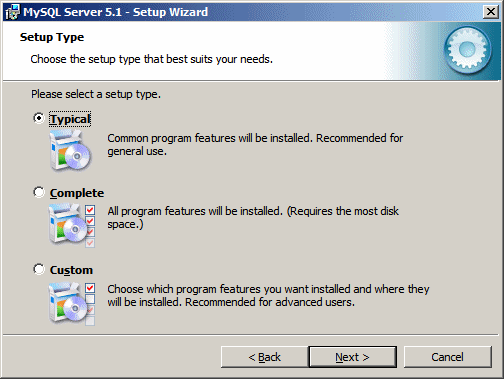
Select the type of installation approach you want. For these lessons, the Typical option should be fine. Click Next:
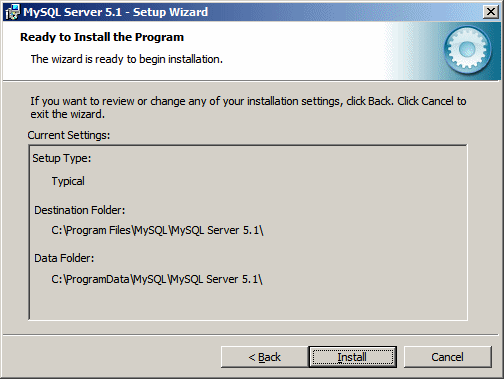
After reading the dialog box, click Install. After a few seconds or minutes, click Next
Click Next again
Click Next
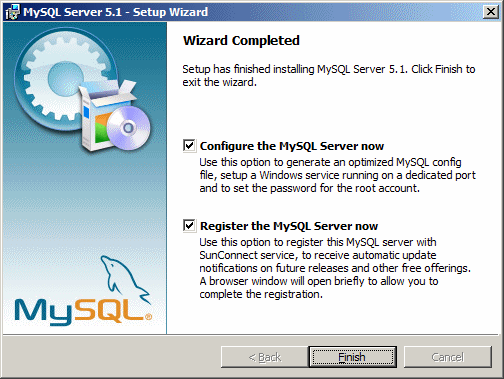
Click Finish.
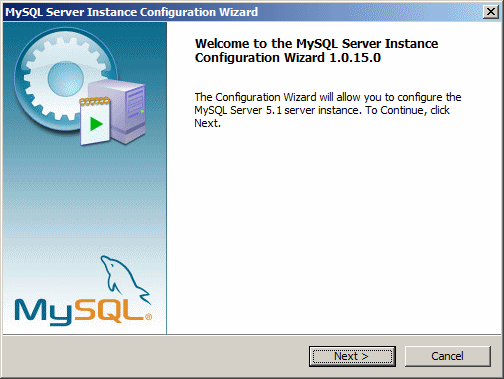
After installing MySQL, you will be asked to configure MySQL:
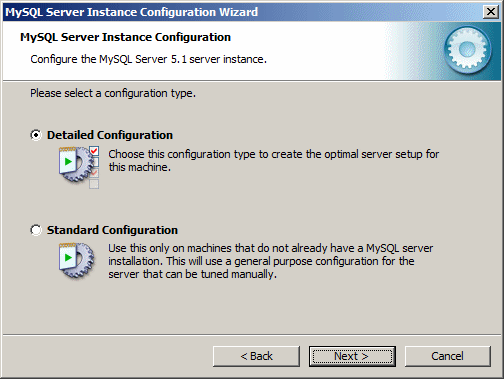
Click Next. You will be asked about the type of configuration you want:
Click Next:
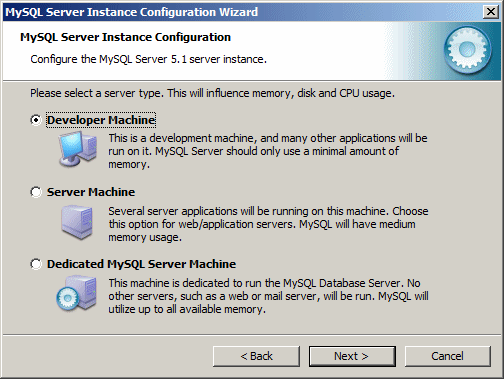
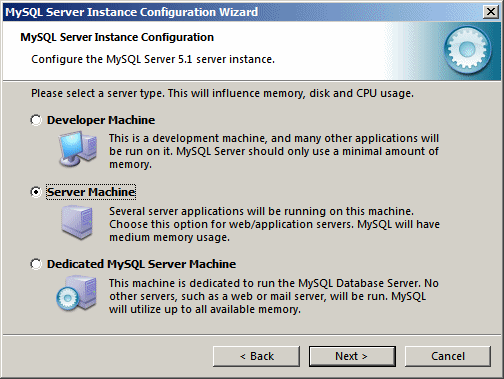
If you want to install MySQL as an actual server, click the second radio button:
Click Next:
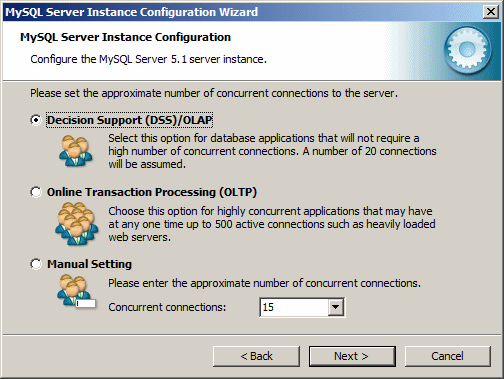
Click Next:
Click Next:
Click Next:
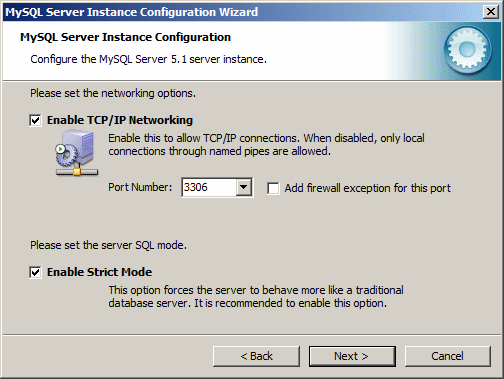
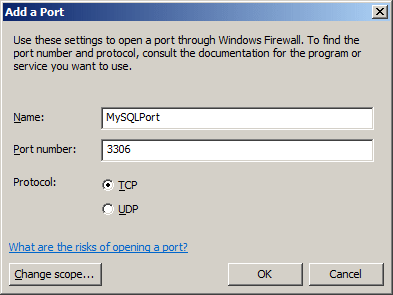
Note the selected value of the Port Number. Click Next
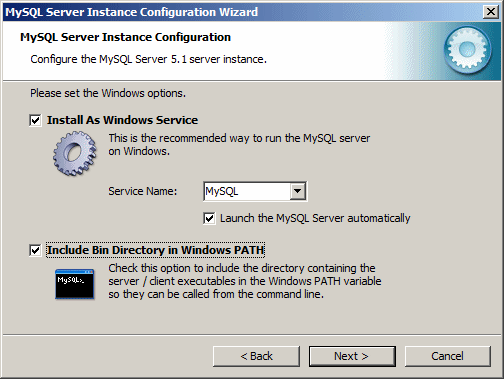
Click Next. Click the option include the Bin Directory in the Windows path:
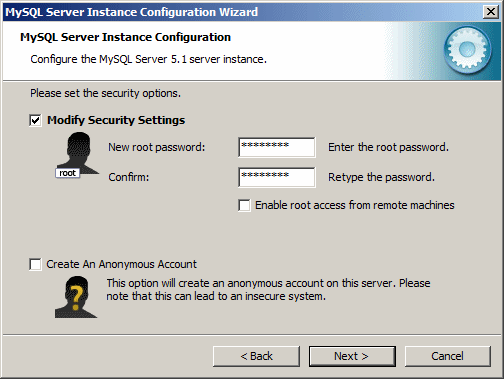
Click Next. Type a password for the root. Make sure you can remember that password because you will need it later:
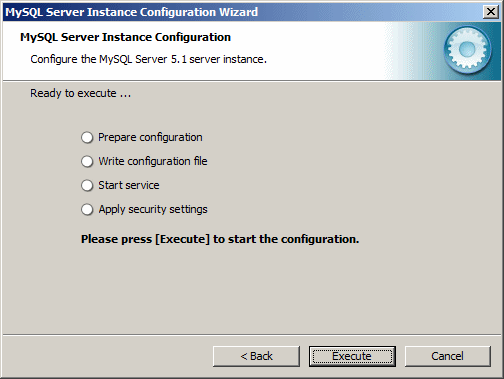
Click Next
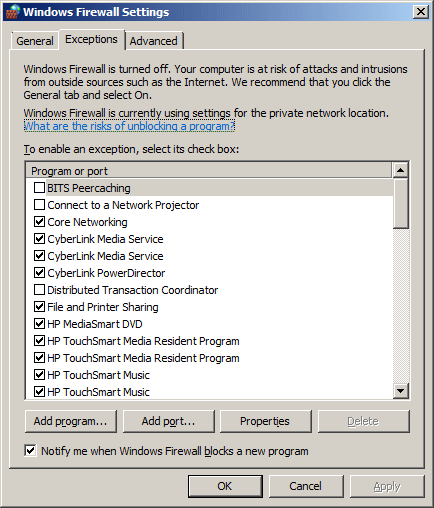
Click Execute. If you receive an error, open the Control Panel and double-click Firewall. Then click Change Settings. Click the Exceptions tab:
Click Add Port. Type a name in the top text box. In the Port number text box, enter the number that was previously selected:
Click OK.
|
|
|||||||||||||||
|
|
||||||||||||||||