|
Installing a DHCP Server
|
|
|
|
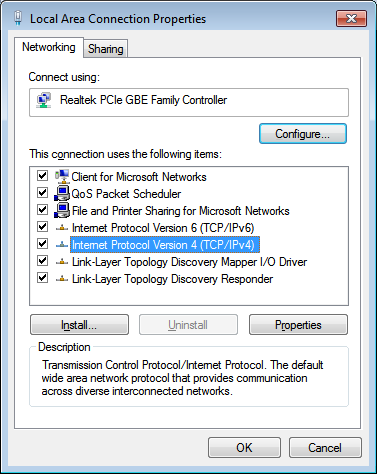
To set up the first server of our network, we had
to give an IP address to the server. In the same way, each of the client
workstations and servers of the network needs an IP address to participate in
the network. If the network is (very) large and has many compters (workstations
and servers), it can take a lot of work, a big waste of time, and multiple
expenses for the company. What if an application can take care of assigning the
IP addresses to the computers that need them. That's the job of a DHCP server.
|
A DHCP server is an application, or rather a service,
that automatically assigns an IP address to an member of the network that needs
an IP address.
In Microsoft Windows Server 2008 R2, a DHCP server is a
role. This means that you must first install Microsoft Windows Server 2008, and
then add the DHCP server.
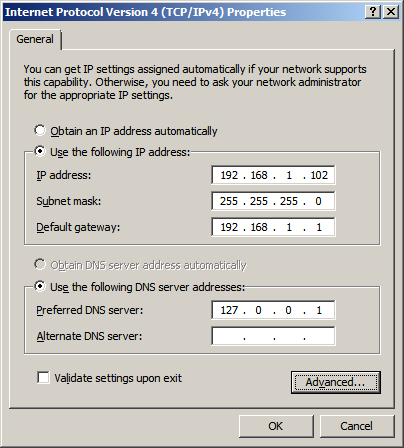
You don't have to use a DHCP server, especially in a
small network where you can easily manage the job of assigning and
maintaining IP addresses. If you decide to use a DHCP server, you
should (highly recommended) provide a static IP address to the computer (the DNS server).
We have already seen how:
When setting up a DHCP server, you can indicate the
number of IP addresses that will be necessary for your network. For
example, imagine you are creating a small network for home or a small
business.
The maximum number of computers you will possibly use is 10, 20, or 50. The
number of available IP addresses goes from one minimum to a maximum. This
is referred to as the range of IP addresses.
As stated already, the range of IP addresses must
start from a certain minimum. Let's take an example of 192.168.1.10. If
you know that you will have at most 50 computers in your network, the
possible maximum IP address you would need is 192.168.1.60.
To install the DHCP server after starting Microsoft
Windows Server 2008 R2 and logging in with an account that has administrative
rights:
- In the Initial Configuration Tasks, click Add Roles.
As an alternative,
you could click Start -> Administrative Tools. In the left frame, right-click
Roles and click Add Roles - In the first page of the wizard, titled Before
You Begin, read the text and click Next
- In the second page of the wizard, click the check box of DHCP Server
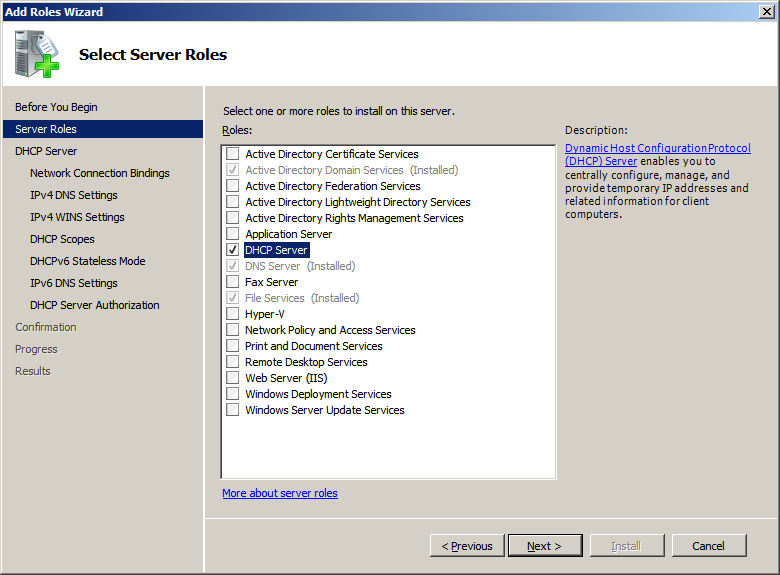
- Click Next
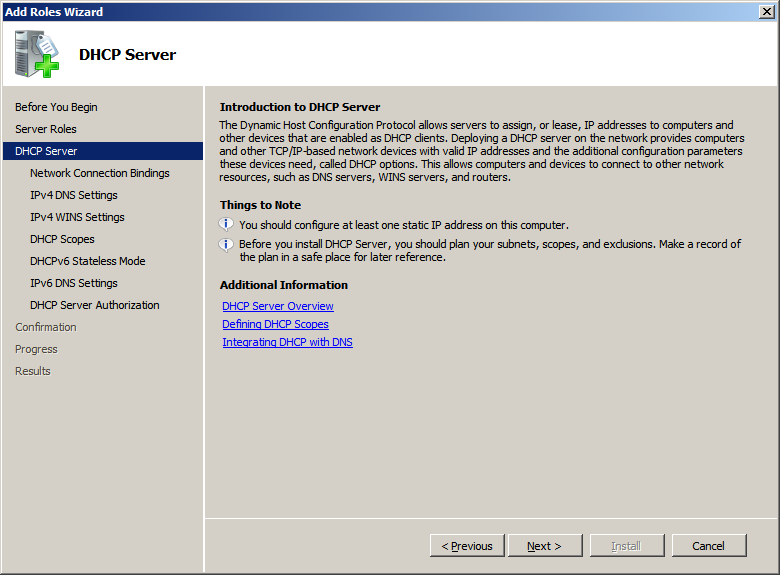
- In the third page of the wizard, click Next
- The 4th page of the wizard shows the
IP address that was assigned to the
server during primary configuration:
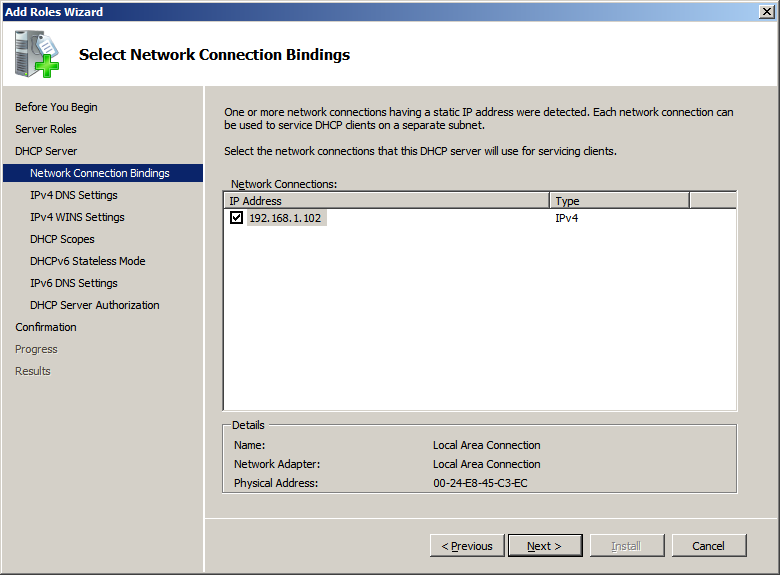
Click Next
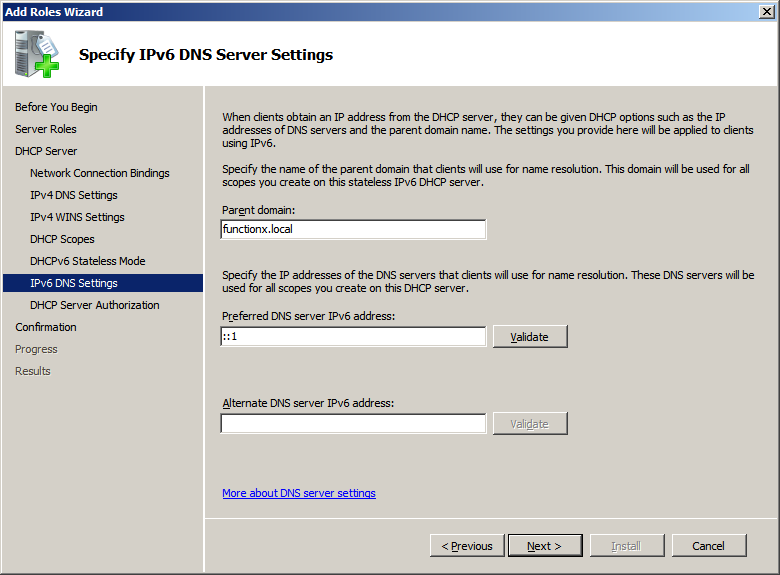
- The next page shows the web domain and the DNS IP address(es).
You
can accept the default preferred to DNS and click Validate
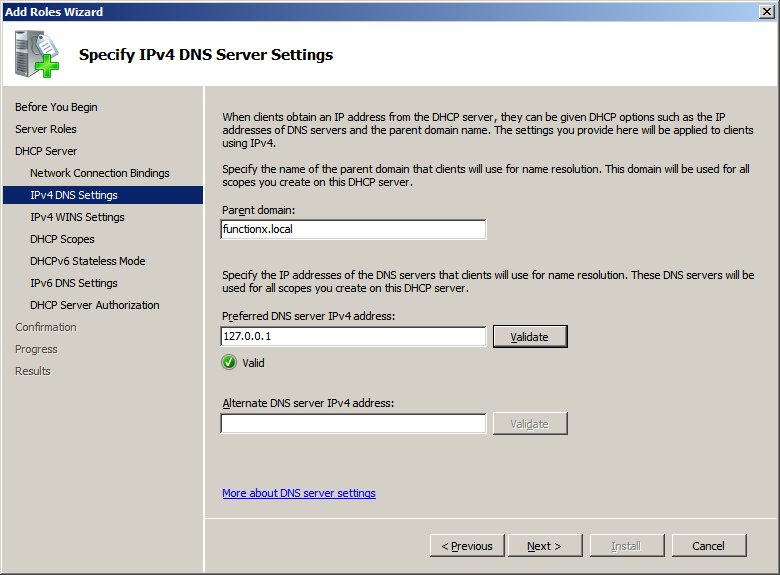
If you don't
like or don't want that IP address, provide your own and click Validate
- Click Next. The page allows you to specify a WINS server or not:
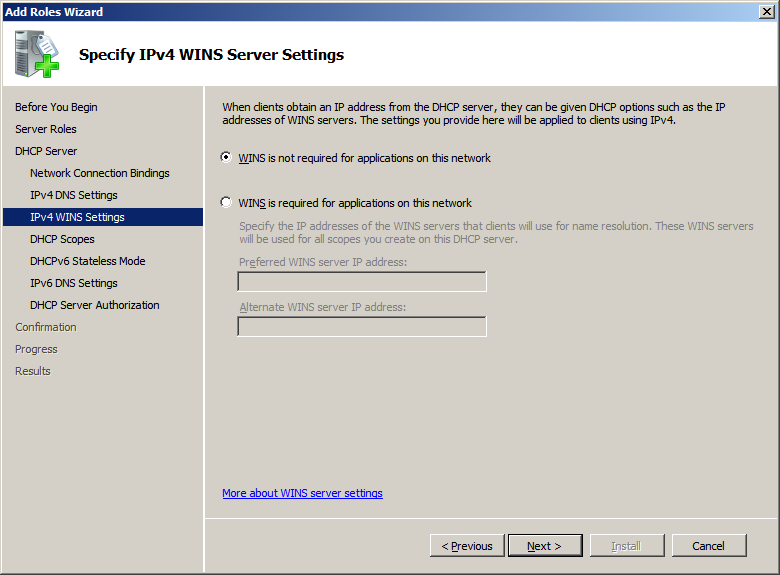
- After specifying the WINS or to skip it, click Next
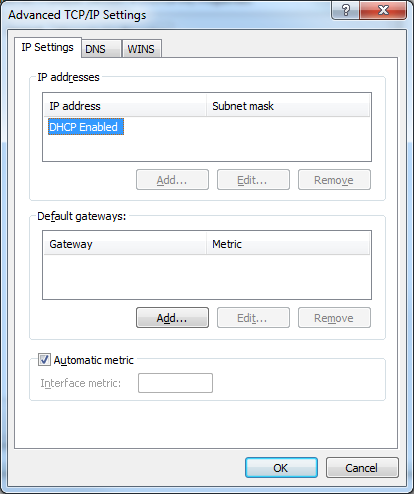
- The next page allows you to optionally specify a range of IP addresses.
If you don't want to specify a range of IP addresses (we will not use it for
our small network), click Next:
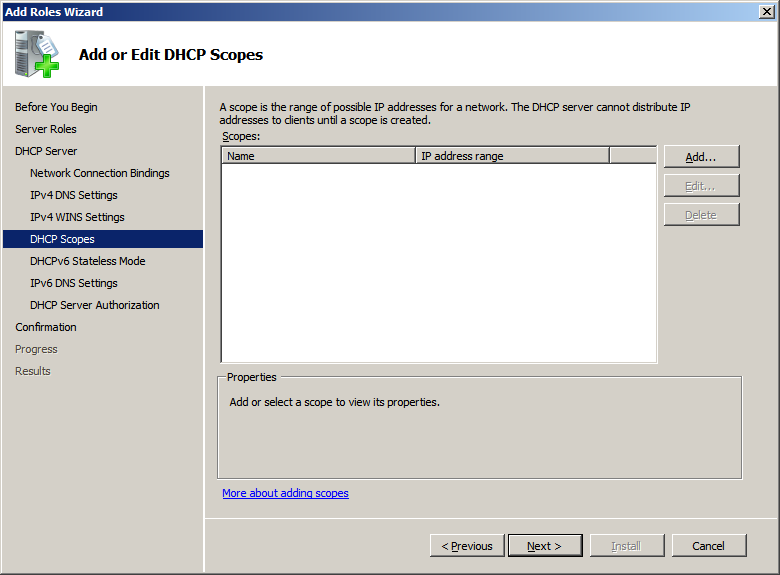
If you want to
specify a range of IP addresses, click
Add...
- In the Scope Name, type a name (anything using letters and digits), such as LocalizedSegment, and press Tab
- In the Starting IP Address text box, type the lowest address of the
desired range and press Tab
- In the Ending IP Address text box, the highest IP address
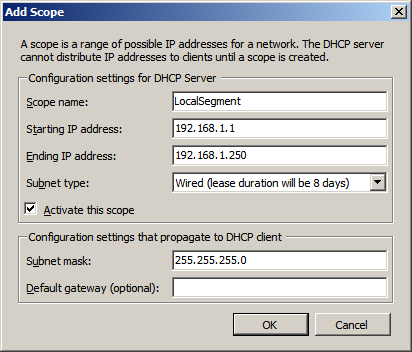
- Click OK
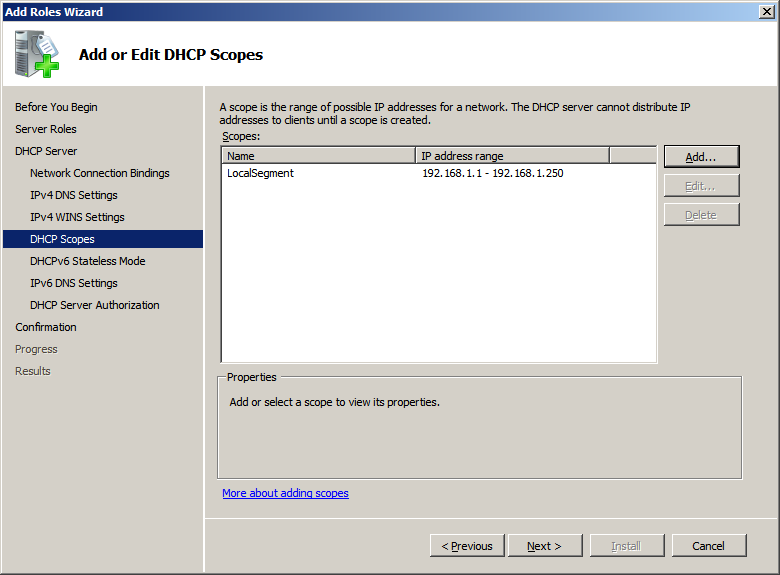
- Click Next
The next page asks you whether you want to use IPv6 or
not:
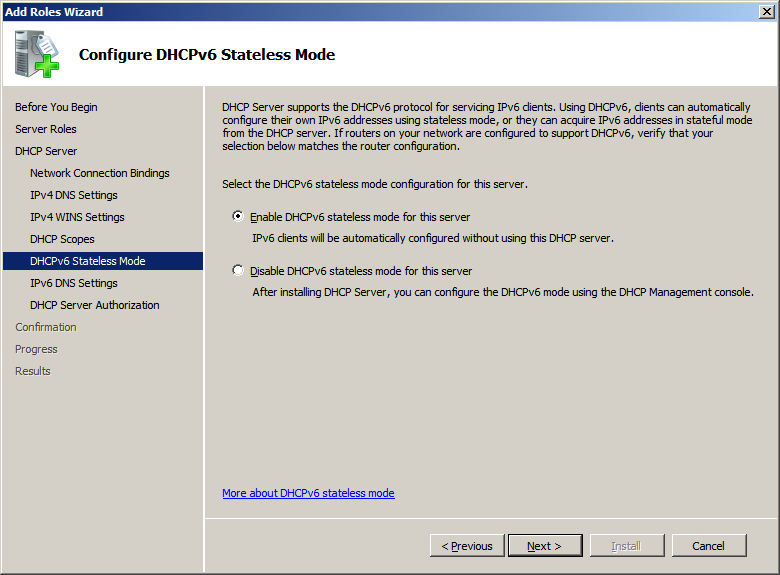
- Click Next
- Click Next.
The next page asks you to specify what account is used to
validate the installation
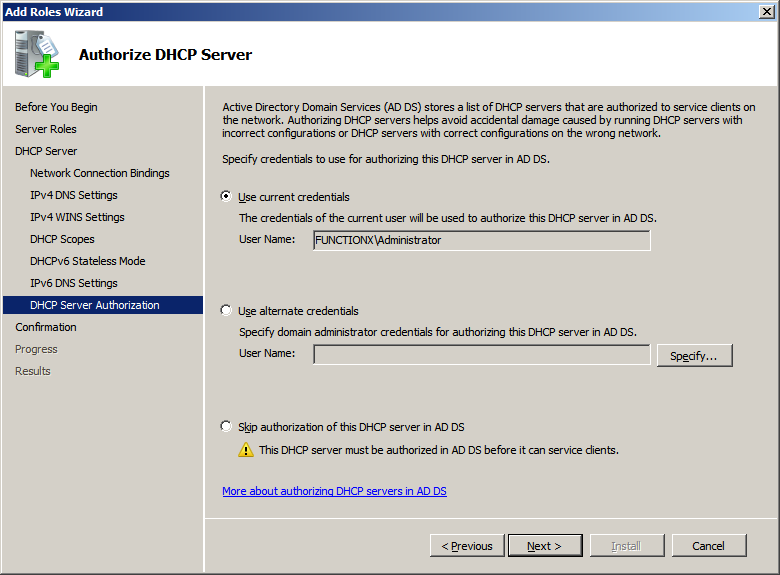
- Click Next.
The next page shows a summary of your selections before
the actual installation (the contents of the dialog box will depend on
whether you provided a range or IP addresses or not):
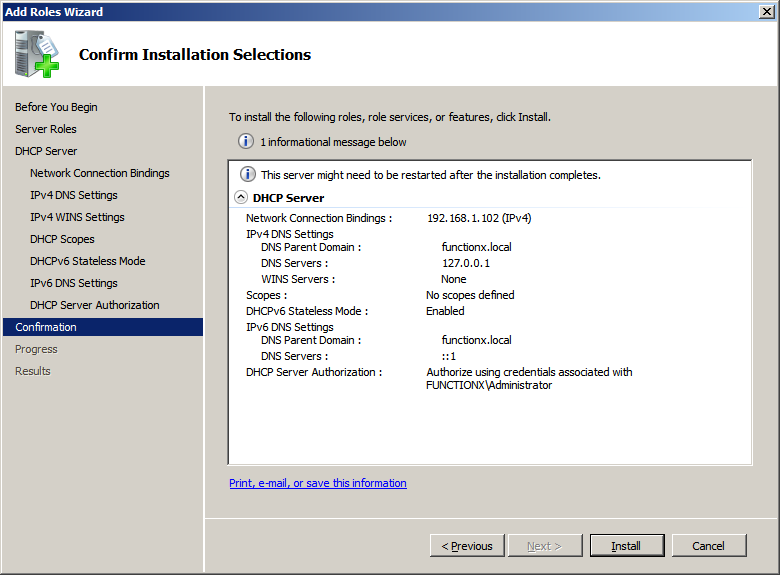
- Click Install.
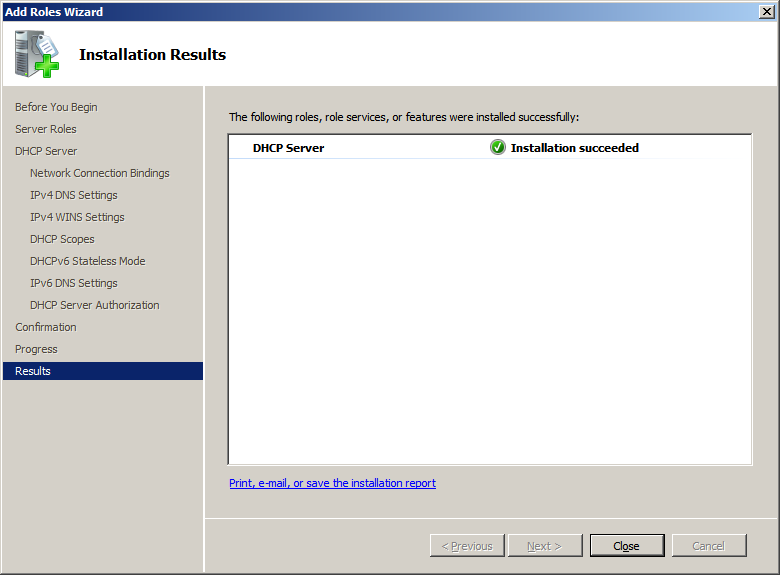
The installation will start. This may take a few
minutes. When the installation is over, click Close:
|
|